
Table of Contents
Why Markers Are a Go-To Tool for Modern Creatives
From detailed illustrations to dynamic lettering and fast-paced sketching, markers have become a favorite tool for artists, designers, and creative hobbyists alike. Understanding the different types of artist markers and how to start using them with confidence can help you choose the right tools for your creative goals while unlocking techniques that elevate your work.
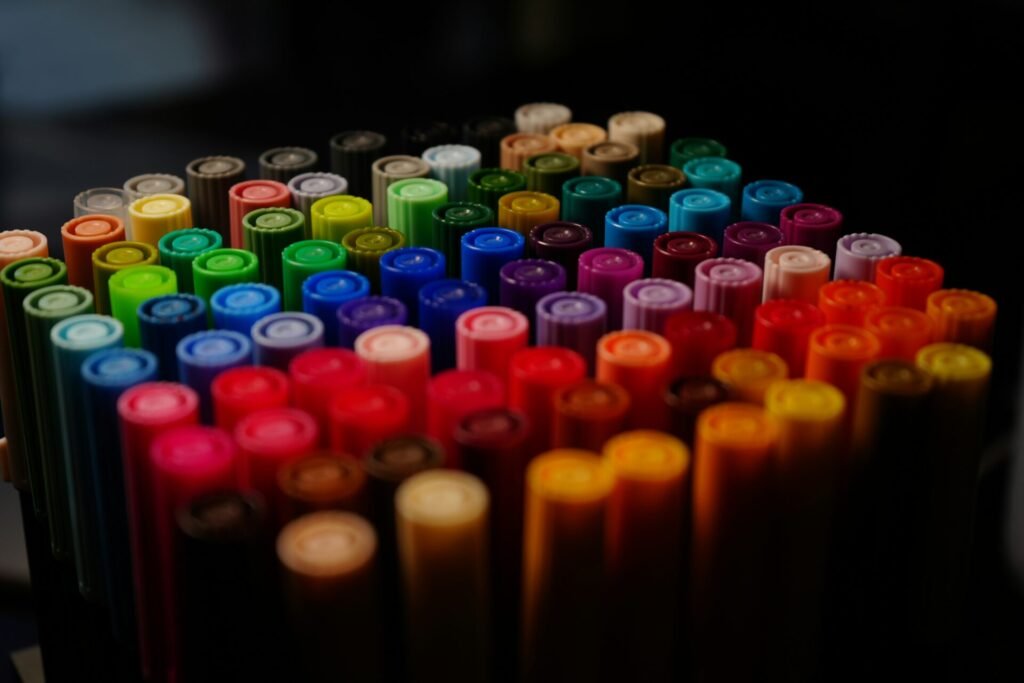
credit: mayfly
This guide will walk you through the major marker categories, their unique uses, and how to build skills that make you feel confident, whether you’re new to art markers or looking to expand your toolkit.
The Main Types of Markers and What They Do Best
Markers are beloved for their immediacy, vibrant pigment, and portability. Unlike paint or digital tools, they offer a tactile experience with little mess and no drying time. Depending on the marker type, you can create smooth gradients, intricate linework, bold calligraphy, or expressive mixed media pieces.
They’re widely used in:
- Illustration and comics
- Graphic design and layout mockups
- Bullet journaling and planning
- Calligraphy and hand-lettering
- Fashion and industrial design
Learning what sets each type of marker apart is the first step in choosing the right one for your workflow.
Alcohol-Based Markers
What Makes Alcohol Markers a Studio Essential
Alcohol-based markers are highly favored in professional art and design circles for their exceptional blendability, vibrancy, and dry-time efficiency. Unlike water-based or pigment-based inks, these markers use alcohol as a solvent to carry dye smoothly across the page. As the alcohol evaporates almost instantly, artists can layer colors without disrupting the underlying strokes—creating seamless gradients, soft transitions, and bold saturation with minimal smudging.
This fast-drying quality also allows for high-speed iteration, making them ideal for concept artists, illustrators, and graphic designers who need precision and polish on tight timelines.
 Sketchbooks.org | RESEARCH HUB:
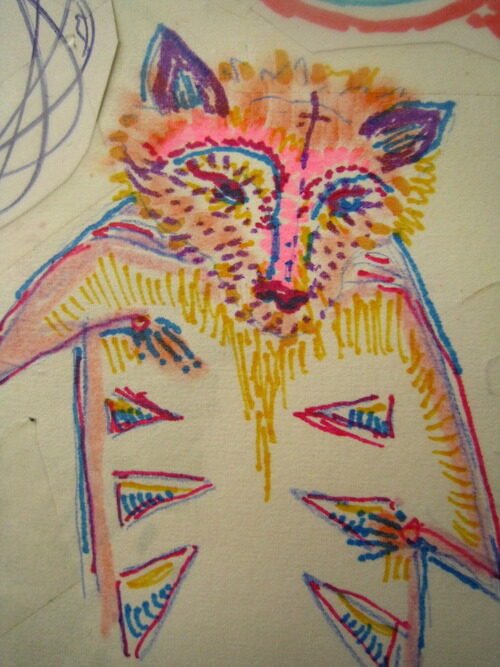
Alcohol-Based Markers Example Artwork
Visual research is critical for any creative endeavor. We have compiled specialized links to lead you directly to images, videos, and inspiration for "Alcohol-Based Markers Example Artwork" across the web's best visual search platforms.
Ideal Uses and Artistic Applications
Blended Shading and Gradient Work
Alcohol markers are built for layering. Whether you’re developing depth in skin tones or crafting a fading skyline, their transparent quality allows for gradual color stacking and dynamic shadow building. Artists often start with light base tones and then use darker markers or a colorless blender to achieve dimension and glow.
Comic Art and Character Design
Thanks to their consistent pigment output and smooth nib transitions, alcohol markers are a top choice for comic illustrators and concept artists. They’re especially powerful for expressive rendering—allowing characters to pop through tonal contrast, vivid color schemes, and refined outlines.
Layered Illustration and Fashion Sketching
The double-ended nib options (usually a chisel and brush tip or fine bullet) allow artists to switch between linework and large-area fills. In fashion illustration, alcohol markers shine when capturing fabric drape, movement, and gloss through layered color, highlights, and edge details.
Popular Brands and Format Notes
Artists tend to gravitate toward professional-grade brands like:
- Copic: Refillable with replaceable nibs, known for exceptional blending and color range
- Ohuhu: Budget-friendly, alcohol-based markers with strong performance and dual tips
- Prismacolor: Highly pigmented with excellent ink flow, especially useful for vibrant color payoff
Most alcohol markers come in coordinated sets with color-coded caps, but swatching is always recommended—actual color on paper may differ slightly due to paper type and lighting conditions.
Practical Tips and Considerations
- Bleed-through is common, even on heavyweight sketch paper. Use dedicated marker paper or place a blank sheet behind your work to protect the surface beneath.
- Blending requires a light touch and patience. Use overlapping circular or feathered strokes, starting with lighter tones and gradually building saturation.
- Colorless blenders are your friend—these are not just for “erasing” but for pushing pigment, softening transitions, and adding highlight zones.
- Marker caps should be clicked closed tightly after every use to prevent premature drying.
If you’re just starting out, stick to a limited palette of skin tones, neutrals, and a few vibrant accents. This gives you enough range to explore without overwhelm.

Water-Based Markers
Why Water-Based Markers Are Beginner-Friendly and Versatile
Water-based markers offer a gentle introduction to the world of color tools. Their low-odor, non-toxic formulation—using water as a solvent instead of alcohol—makes them especially well-suited for casual creatives, hobbyists, educators, and anyone sensitive to fumes or bleed-through. While less permanent than alcohol markers, they bring their own strengths to the table: reusability, softness, and safe experimentation.
Because their pigments are activated by water, they blur the line between drawing and painting—offering a lightweight, approachable way to explore brush effects, color mixing, and layering techniques without committing to full watercolor setups.
Best Creative Uses for Water-Based Markers
Coloring Books and Casual Sketching
Water-based markers are a dream for coloring enthusiasts. Their clean laydown and reduced bleed-through mean you can fill in detailed patterns without worrying about ink ruining the back page. The water-reactive qualities also let you revisit and soften lines after they’ve been applied—ideal for spontaneous sketch sessions or gentle shading.
Kids’ Art and School-Safe Supplies
Due to their non-toxic formulation, these markers are a go-to for classrooms and family environments. Their forgiving nature lets kids explore color confidently, while washable versions offer easy cleanup on skin, surfaces, and clothing.
Hand-Lettering and Water Brush Effects
Brush-tipped water-based markers are a favorite in the hand-lettering community. Their flexible tips allow for pressure-sensitive calligraphy strokes, and when paired with a water brush, they can create dramatic flourishes, gradient fills, and painterly effects. With practice, you can mimic watercolor brush lettering with complete control.
Important Techniques and Considerations
- Plan your layers: Because water-based ink remains soluble, it’s essential to let each layer dry completely before applying another or introducing water—this prevents unwanted muddying or tearing.
- Choose the right paper: For dry use, mixed media or heavy drawing paper works well. If you’re activating with water, opt for watercolor paper or at least 160gsm/90lb weight to avoid buckling.
- Go light to dark: Light colors tend to lift or activate more easily. Build value gradually to avoid lifting previous layers unintentionally.
- Blend creatively: Try smudging edges with a damp brush, blending two colors on a non-porous palette and picking them up with the marker tip, or fading lines outward using water for a smoky effect.
Water-based markers may not offer the seamless blending of alcohol inks, but what they lack in permanence, they make up for in fluidity, accessibility, and playful charm.
Paint Markers
The Bold, Surface-Friendly Power of Paint Markers
Paint markers break the mold of traditional markers by offering opaque, pigmented paint inside a pressurized marker body. Instead of ink, they release a fluid paint—typically acrylic or oil-based—through a nib that’s activated by shaking and pressing. This unique construction means they can adhere to materials where standard markers fail, including wood, metal, glass, canvas, stone, ceramic, leather, and even some fabrics.
These markers are prized by muralists, mixed media artists, sign painters, and crafters for their versatility, permanence, and punchy visual impact. Their precision nibs and dense pigment allow you to treat hard surfaces like a canvas—without brushes or palettes.
Common Uses and Creative Possibilities
Mixed Media Artwork
Paint markers integrate beautifully into mixed media projects, whether you’re layering over collage, outlining in acrylics, or adding graphic details to textured backgrounds. The opacity allows for bold contrast, while the variety of nib shapes—from ultra-fine to chunky chisel—lets you control emphasis across a range of scales.
Use them for:
- Blocking in color areas without brush cleanup
- Highlighting or outlining over pastel, pencil, or acrylic
- Drawing on unconventional surfaces like wood panels or metal plates
Custom Signage and Mural Work
One of the standout applications for paint markers is in signage and public art. Because they’re durable and weather-resistant (especially oil-based versions), they’re perfect for high-impact visual messaging on surfaces like chalkboards, storefront windows, banners, or walls.
Many brands offer fade-resistant, UV-stable formulations, making them ideal for outdoor work. White or metallic markers are especially effective for visibility in signage or holiday décor.
Craft and Surface Decoration
Paint markers bring a clean, controlled solution to DIY projects. Use them to:
- Decorate ceramic mugs, flower pots, or holiday ornaments
- Personalize leather goods like journals or wallets
- Design bold accents on skateboards, phone cases, or plant stands
They’re a favorite among crafters for good reason—you get the vibrancy of paint without the hassle of brushes or open palettes.
How to Use Paint Markers Effectively
Priming and Surface Prep
Surfaces like glass, plastic, or metal often need to be cleaned and lightly sanded or primed to ensure the paint adheres properly. For best results:
- Wipe down with rubbing alcohol to remove oils or residues
- Sand slick areas to create a “tooth” for better grip
- Apply a base coat of acrylic gesso if working on raw wood or canvas
Always allow time for underlayers to dry fully before painting.
Nib Activation and Application
- Shake well (you’ll usually hear a metal ball inside to help mix pigment)
- Press down on a scrap surface until the paint flows to the nib
- For precise control, dab excess paint if the nib is over-saturated
- Work slowly over rough textures to avoid nib fraying or skips
Dry times vary: acrylic paint markers dry within minutes; oil-based markers may take several hours, especially on non-porous surfaces.
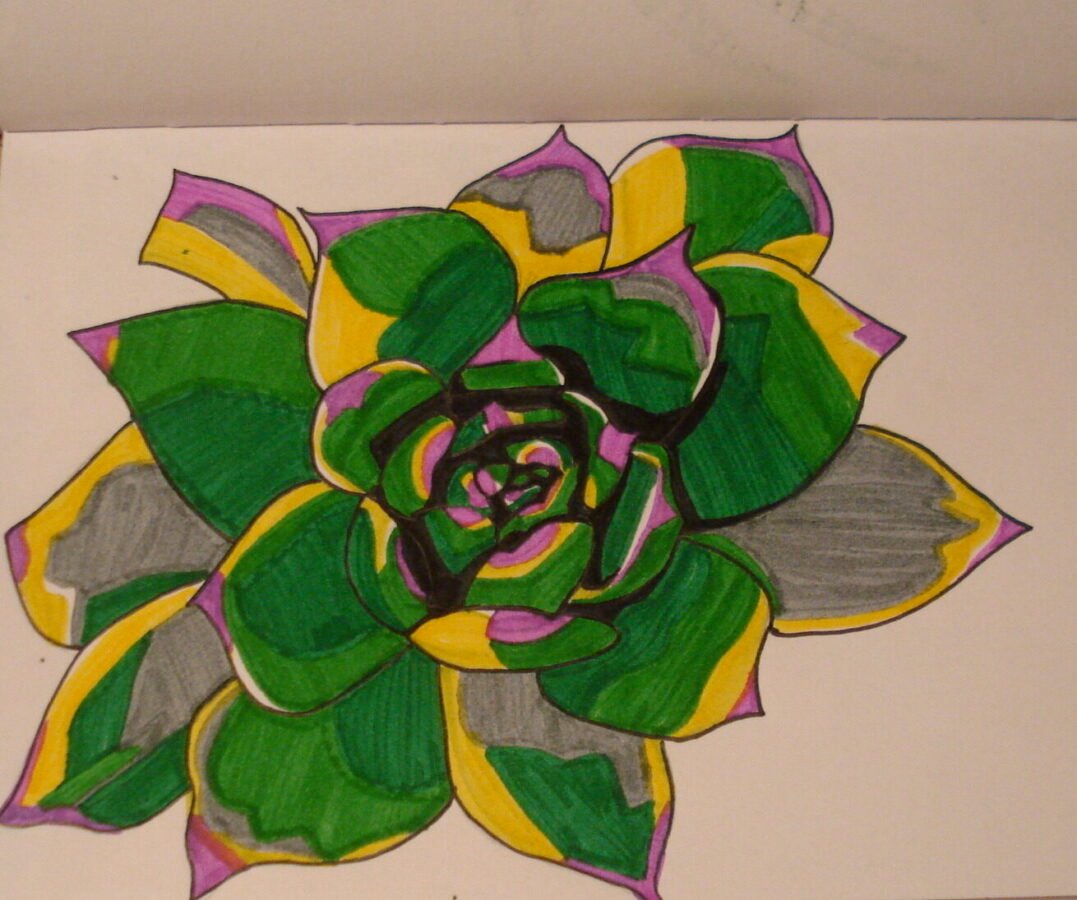
credit: hollzd15
Choosing Between Acrylic and Oil-Based Options
Acrylic Paint Markers:
- Water-soluble when wet; water-resistant when dry
- Fast drying and easy to clean
- Great for layering without reactivation
- Ideal for indoor, paper, or temporary surfaces
Oil-Based Paint Markers:
- More permanent and weather-resistant
- Strong adhesion on smooth surfaces like plastic or metal
- Slight odor; best used with ventilation
- Great for outdoor, long-term, or glossy finish applications
Pick your type based on permanence, surface, and cleanup preference.
Gel-Based or Hybrid Markers
A Shiny, Smooth Touch for Decorative Work
Gel-based or hybrid markers occupy a unique space between pens, paint, and highlighters—delivering vibrant, often luminous results with a silky ink flow. Using pigmented ink suspended in a gel medium, these markers provide controlled, opaque coverage and a satisfyingly slick glide across the page. What sets them apart is their ability to show up boldly on dark or colored papers, making them ideal for artists and planners seeking contrast, flair, or metallic effects.
While not as blendable or versatile as alcohol or water-based markers, they bring visual impact and tactile delight in just the right dose.
Common Uses and Creative Niches
Journaling and Planner Art
Gel markers are a go-to for bullet journaling, monthly spreads, and everyday planners. Their opaque ink allows for crisp headings, color-coded symbols, and calligraphy-style accents that stand out beautifully against kraft, black, or toned paper. Many brands offer archival-quality gel ink that resists fading—perfect for memory-keeping and long-term notebooks.
Decorative Accents
Want to add sparkle, shimmer, or pastel depth to a piece without overpowering it? Gel-based markers excel at fine decorative touches. Outline illustrations with metallic ink, enhance patterns with pastel glow, or drop luminous highlights onto dark drawings. Their slow-drying ink allows for layering once dry, which is helpful when adding contrast or restoring sharpness.
Layering and Detail Work
Thanks to their precision tips and high opacity, gel markers are excellent for fine details that need to pop. Use them for:
- Highlighting over colored pencil
- Outlining watercolor accents
- Dot work or signature embellishments
- Scrapbooking captions or themed borders
They’re also great for writing on photo paper or glossy card stock, where standard pens tend to skip or smudge.
Tips for Using Gel Markers Effectively
- Use smooth, coated paper to get the best flow and pigment payoff. Toothy or absorbent paper may interrupt the ink flow or mute brightness.
- Work slowly and steadily—gel ink takes longer to dry, and quick strokes can lead to ink skips or inconsistent lines.
- Test layering order—some inks resist overlap, while others lift previous marks. Let each layer dry fully before reapplying.
- Clean the tips if flow stalls—wipe gently on scrap paper to unclog dried ink and restore glide.
Gel markers may be small tools, but they deliver outsized charm—especially for creatives focused on craft, memory, and detail. They’re like the jewelry of your toolkit: not always center stage, but unforgettable when placed just right.
How to Start Using Markers with Confidence
Choose the Right Paper for Optimal Results
The paper you choose plays a crucial role in how your markers perform. Each marker type interacts with surfaces differently—some require coated pages to prevent bleed-through, while others need absorbency for blending.
Paper Types by Marker:
- Alcohol-based markers: Perform best on smooth, bleed-resistant marker paper. These papers prevent ink from feathering and preserve your nibs by reducing drag.
- Water-based markers: Work well on watercolor paper or mixed media paper that can handle light washes without warping.
- Paint markers: Require primed or sealed surfaces such as canvas boards, coated bristol, or smooth wood panels to ensure adhesion and durability.
- Gel markers: Look vibrant on dark or toned paper, where their opacity and shine stand out beautifully.
Avoid cheap sketch paper, which often leads to patchy saturation, frayed nibs, or ink bleeding through to the next page.
Understand Your Tools to Work Smarter
Different markers have different behaviors—and knowing what to expect will save you frustration and extend the life of your tools.
Smart Handling Habits:
- Cap markers tightly after each use to prevent drying out. Some inks evaporate quickly, especially alcohol-based varieties.
- Store dual-tipped markers horizontally so ink distributes evenly to both nibs.
- Swatch before committing—marker colors often appear different on paper than on the cap. Test on scrap first.
- Rotate your stroke direction regularly to keep wear on your nibs even, especially with brush tips or bullet points.
Getting comfortable with your tools builds the kind of confidence that frees you up to focus on your creative expression—not damage control.
Learn Basic Techniques to Build Control and Consistency
Markers become powerful when paired with intentional technique. Here’s how to get started with the essentials.
Layering and Blending by Marker Type
- Alcohol markers: Use overlapping, circular strokes with light pressure to blend seamlessly. Layer from light to dark and use a colorless blender to smooth transitions.
- Water-based markers: Apply soft washes first and blend with a water brush or damp brush for painterly results. Allow drying time between layers to avoid paper damage.
- Paint markers: Wait for base coats to fully dry before layering. This avoids unintentional lifting or muddying and gives you crisp, vibrant stacking.
- Gel markers: Apply in deliberate, single strokes to maintain opacity. Once dry, you can layer lightly for subtle depth without smudging.
Pressure Control
Brush pens and flexible nib markers react to pressure—light strokes yield fine lines, while increased pressure creates bold, expressive marks. Practicing line-weight variation builds fluency for calligraphy, sketching, and dynamic outlines.
Color Selection and Harmony
For cohesive work, start with a small palette based on a limited scheme:
- Triadic: Three colors evenly spaced on the color wheel (e.g., red, yellow, blue)
- Analogous: Three to four colors next to each other (e.g., blue, blue-green, green)
This keeps your work visually unified and helps you learn how colors interact before expanding into complex palettes.

Sketchbooks.org | ARTIST RESOURCES
Protecting your Artwork from Pirates and AI
Navigate the modern challenges of digital art. Discover ways to safeguard your creative work from unauthorized use and AI training.
Frequently Asked Questions
What paper is best for alcohol markers?
Use smooth, bleedproof paper made for markers to prevent feathering and preserve nib life.
Can I use water-based markers over pencil or ink?
Yes, as long as the ink is waterproof; always test for smudging first.
Do paint markers work on glass or wood?
Absolutely—just ensure the surface is clean and dry; oil-based markers work best for permanence.
How do I blend with alcohol markers?
Overlap strokes while still wet, or use a colorless blender to create smooth transitions.
Do I need special storage for markers?
Store them flat in a cool, dry place; dual-tip markers should be stored horizontally.
What’s the difference between brush and chisel tips?
Brush tips mimic paintbrushes for expressive lines; chisel tips are better for flat fills and sharp edges.
Are markers archival or lightfast?
Professional-grade markers often are—check the product specs for lightfastness ratings.
Final Thoughts
Learning the different types of markers and how to start using them with confidence is about more than buying the right set—it’s about understanding their behaviors, practicing consistently, and discovering what suits your style. Whether you’re blending alcohol inks for a portrait, lettering with water-based brush pens, or layering paint on wood, markers offer endless ways to express yourself.
Start with curiosity, build with intention, and let your marks evolve with your hand. Confidence, like ink, grows best with every line you lay down.
credit: urielcerqueda
Ready to Share Your Work?
Do you typically complete a sketch in one sitting, or revisit it over time?

Next to pen and ink, markers are my 2nd fav
G E L