
Table of Contents
Why Artists Love Working with Pastels
Exploring the different types of pastels opens a dynamic world of soft textures, bold color, and immediate expression. Unlike many traditional art mediums, pastels offer the immediacy of drawing with the depth of painting—making them a favorite among artists seeking vivid results with intuitive control. However, choosing the right pastel type—and understanding how to use it effectively—is key to unlocking the full potential of this vibrant medium.
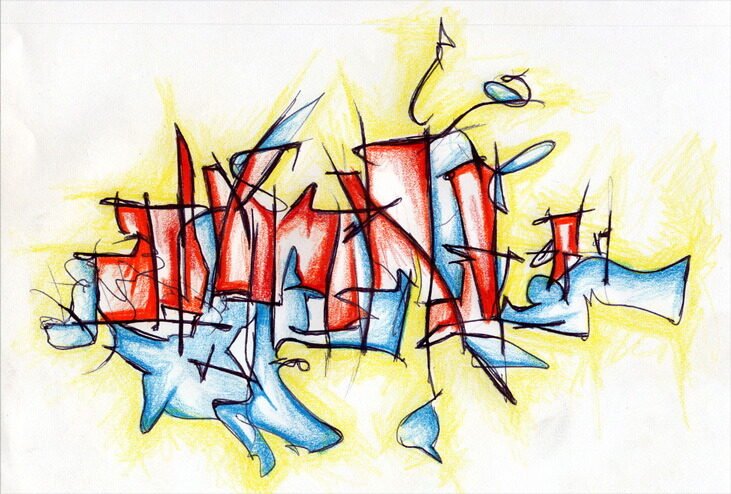
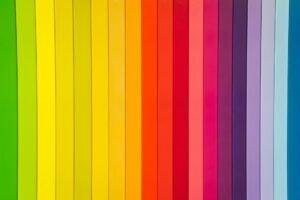
credit: jeffredmon
This guide will break down the main categories of pastels, how they’re used, and how to develop a confident workflow whether you’re starting fresh or expanding your skill set.
Pastels are both direct and versatile. They allow you to draw with rich, pure pigment—no brush, palette, or water required. Their ability to produce soft edges, painterly blends, and bold color layering makes them ideal for:
- Expressive portrait work
- Impressionistic landscapes
- Bold still life setups
- Mixed media layering with charcoal or watercolor
They also come in compact, portable forms, making them a perfect companion for both studio work and outdoor sketching.
The Main Types of Pastels Explained
Not all pastels are created equal. Each variety has a distinct feel, texture, and use case. Let’s explore the core categories so you can choose the type that suits your style.
Soft Pastels
Why Soft Pastels Are a Favorite Among Artists
Soft pastels are celebrated for their unmatched pigment saturation and immediate responsiveness. Because they contain a minimal amount of binder, their high pigment load produces luminous color and delicate transitions. This quality makes them especially attractive to artists working in expressive, painterly styles where color harmony and mark-making take center stage.
The tactile feel of soft pastels is part of their charm—they respond fluidly to pressure and gesture, allowing artists to lay down bold blocks of color or build intricate gradients with ease. This medium encourages spontaneity, making it ideal for capturing fleeting light, emotion, or movement.
Ideal Applications and Techniques
Layered Color Builds
Soft pastels excel at building visual depth through glazing and overlaying. Because the pigment remains on the surface, you can layer multiple hues to create complexity without losing luminosity. Applying strokes at varied angles or light pressures prevents overblending and preserves texture.
Atmospheric Effects and Light Transitions
They’re perfect for capturing atmospheric perspective in landscape scenes or subtle transitions in skin tones. Use a light touch to blend sky tones, fog, or reflected light—especially on sanded or toned paper that grips the pigment well.
Bold Expressive Gesture Work
For artists drawn to energy and immediacy, soft pastels are a natural fit. Their generous laydown and broad side application make them ideal for large-scale mark-making, gestural drawings, or emotionally charged compositions. Working on vertical surfaces can emphasize this physicality even more.
Practical Considerations
Soft pastels are inherently delicate—they crumble easily, create dust, and can smudge with even slight handling. Here’s how to manage their fragility:
- Use fixative spray between layers or at the final stage (light coats only to avoid dulling)
- Frame finished work under glass with a mat to prevent contact with the surface
- Store pastels in foam-lined trays to minimize breakage and color contamination
- Work at an angle so excess dust falls away from your surface, not into your drawing
If you’re new to the medium, start with a curated set of 12–24 high-quality sticks to explore blending, value control, and pigment range without overwhelm.
Hard Pastels
What Makes Hard Pastels Unique
Hard pastels are formulated with a higher ratio of binder to pigment, creating a firmer texture that produces cleaner, more controlled marks. While they may lack the creamy richness of soft pastels, their durability and lower dust output make them ideal for precise applications. Artists who prefer architectural detail, crisp linework, or a structured drawing process often reach for hard pastels to keep their compositions tight and intentional.
Their harder core allows for sharpening into fine points, enabling thoughtful crosshatching, outlining, or tonal sketching. They’re also well-suited for underdrawings, where you want permanence without overwhelming subsequent layers.
Where Hard Pastels Shine
Fine Linework and Hatching
Thanks to their stability and ability to hold a point, hard pastels excel in building texture and tonal variation through linear marks. Whether you’re drawing fur, creating woodgrain, or developing structural shading, they offer precise control without the crumbling risk of softer types.
Initial Underdrawings
Many artists begin pastel work with hard pastels to sketch foundational shapes, perspectives, or value maps. Their matte finish sits lightly on textured paper and won’t interfere when softer layers are added over the top. This makes them particularly effective for layout planning before committing to expressive color.
Adding Contrast or Final Accents
Because they maintain clean edges and apply more finely than soft pastels, hard pastels are excellent for sharpening contrast. Use them to define silhouettes, carve out reflective highlights, or inject graphic edgework at the final stage of a piece.
Formats and Handling Tips
Hard pastels are available in:
- Traditional square sticks (great for side shading or edge work)
- Pencil form for added precision and portability
To prevent snapping:
- Avoid excessive pressure—let the stick glide
- Sharpen with a blade or sanding block rather than a rotary sharpener
- Store separated by sponge dividers or sleeves to prevent chipping
Pairing hard pastels with soft or pan pastels allows you to balance controlled detail with painterly flow—ideal for artists who blend structural planning with expressive finishes.
Pastel Pencils
Why Pastel Pencils Offer Control Without the Mess
Pastel pencils combine the vivid pigment of traditional pastels with the tidy, familiar format of a wood-encased pencil. This hybrid design gives artists precise mark-making capabilities without the dust and fragility associated with stick pastels. Their tactile comfort and clean application make them an ideal gateway for beginners or a precision tool for seasoned pastelists.
Encased in cedar or other fine-grain woods, pastel pencils can be sharpened to a fine point, making them indispensable for detail-driven subjects or techniques where line quality matters. Whether sketching in the field or tightening up highlights in a finished studio piece, they bring clarity without compromising on softness.

credit: claire
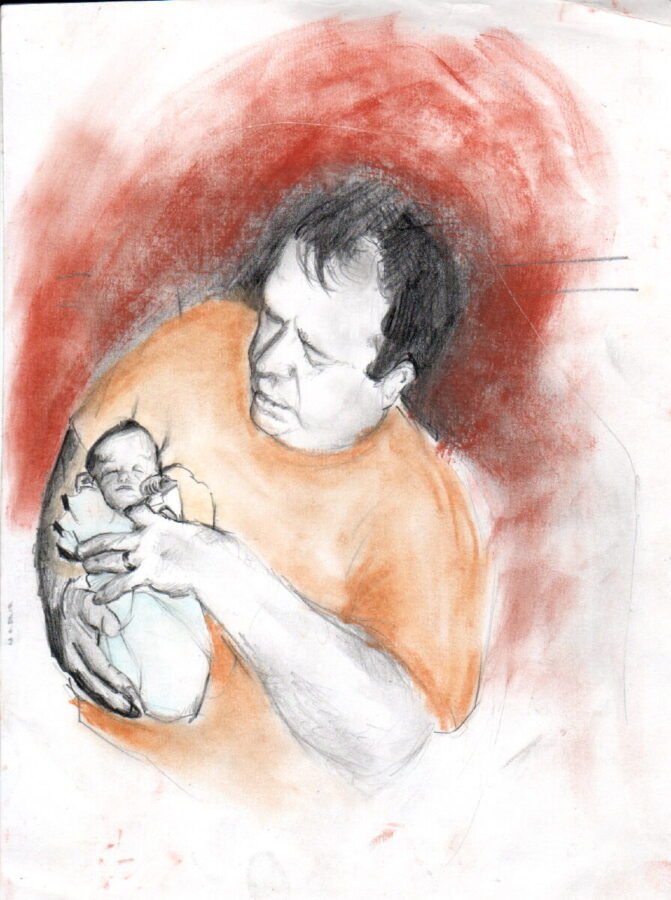
credit: chadlonius
Best Uses and Techniques
Cross-Contour Shading
Pastel pencils are perfect for subtle shading that describes form. By following the underlying three-dimensional shape with curved strokes, you can build volume and directional light. Layering different hues in parallel or crisscrossed marks enhances texture while remaining soft and blendable.
Fine Textural Effects
Hair, fur, bark, or brushed metal—pastel pencils are excellent for detailing surfaces that require restraint and rhythm. Their precision allows you to build believable textures through controlled lines, stippling, or edge sharpening. Use a light touch to preserve layering potential and avoid crushing the tooth of your paper.
Art Journaling and Travel Sketches
Compact and less messy than loose pastels, pastel pencils are a favorite in sketch kits. They’re great for plein air landscapes, botanical journaling, or quick figure studies. If working in a bound sketchbook, choose a page with a little tooth to maximize pigment hold and depth.
Tips for Working with Pastel Pencils
- Sharpening: Use a knife or sanding block rather than mechanical sharpeners to avoid breakage. For a crisp tip, gently refine with fine sandpaper.
- Surface Selection: Choose paper with medium to heavy texture (like sanded pastel paper or toned drawing paper) to grip pigment effectively.
- Layer Wisely: Like other pastels, too many heavy layers can flatten paper texture. Start soft and build gradually.
- Combining Tools: Layer pastel pencil details over soft pastel backgrounds to sharpen contrast or add final highlights.
These pencils bridge the gap between drawing and painting tools, making them a versatile staple for artists who want portability, control, and vibrant color in one neat package.
Oil Pastels
What Sets Oil Pastels Apart
Oil pastels bring a luscious, painterly feel to drawing—thanks to their unique formulation using a non-drying oil and wax binder. Unlike traditional pastels, oil pastels never completely dry out, which means they remain workable and blendable long after application. Their creamy consistency makes them feel more like painting with sticks of butter than with chalk, allowing artists to move color around on the surface with expressive freedom and surprising intensity.
They’re also far more durable than soft or hard pastels, resisting dust and smudging without the need for fixative. This makes them ideal for artists seeking vivid color payoff with minimal mess and maximum surface compatibility.
Powerful Techniques for Oil Pastel Success
Thick, Impasto-Like Application
Oil pastels are excellent for impasto effects—thick, sculptural marks that stand off the paper. You can build up texture by layering heavily or applying pressure to create a dimensional surface. On textured or primed surfaces, these effects are even more pronounced.
Bold Color Layering and Sgraffito
Oil pastels layer easily over one another, allowing for bold color transitions and depth. Because they remain wet-like, you can scratch through upper layers with a palette knife or stylus to reveal contrasting colors beneath—a technique called sgraffito. This is especially effective for creating highlights, texture, or hidden pattern work.
Working on Heavier Surfaces
Unlike soft pastels, oil pastels can be used on a wide range of surfaces beyond paper. They perform beautifully on:
- Canvas: unprimed or gessoed
- Wood panels: particularly for bold graphic work
- Mixed media boards: for experimentation with collage, paint, or ink underlayers
They’re less sensitive to paper tooth and more forgiving of surface variations, so you can use them to explore scale, texture, or unconventional supports.
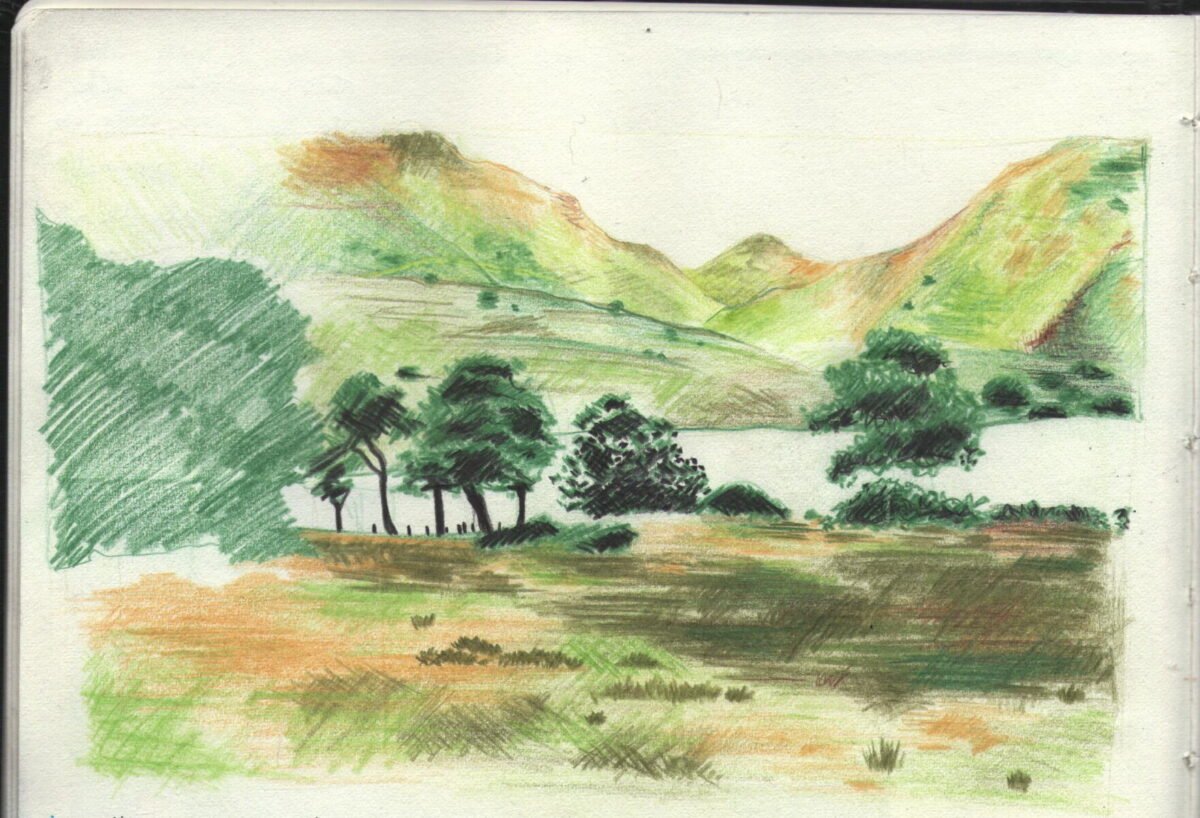
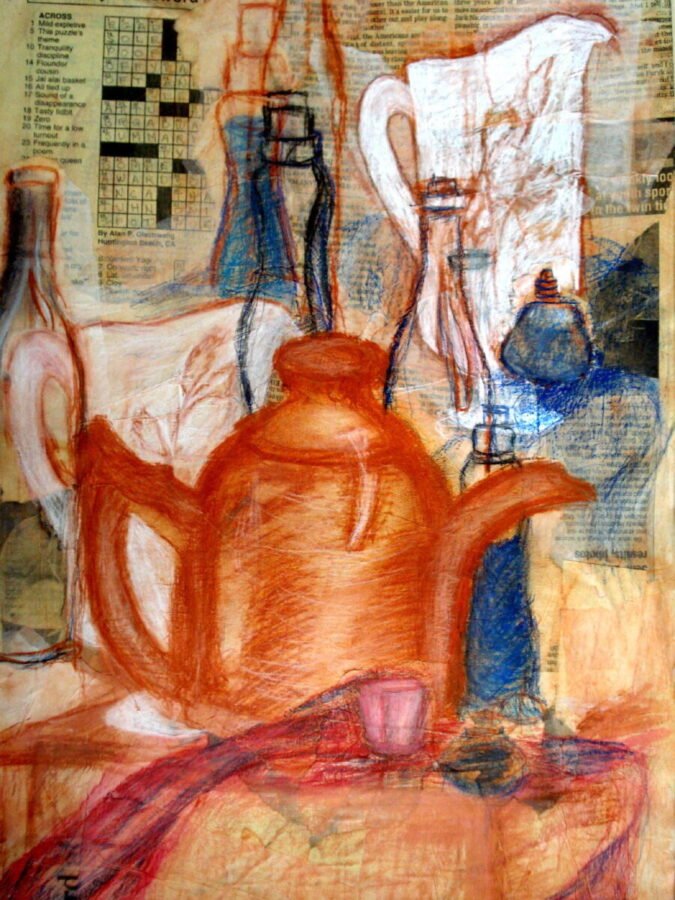
credit: aeritchie
Blending and Finishing Tips
While oil pastels don’t smudge as easily with fingers as soft pastels, they can be blended smoothly using:
- Cotton swabs or cloth
- Paper blending tools
- Solvents like turpentine, baby oil, or mineral spirits (always ventilate properly)
Solvent blending breaks down the binder and allows for watercolor-like washes or seamless gradients. Use this selectively for atmosphere or soft edges.
Since oil pastels never truly “set,” it’s important to protect finished pieces:
- Use glassine or wax paper as a barrier during storage
- Frame under glass with a generous mat to avoid contact
- Consider fixative alternatives like clear acrylic primer for sealing on rigid supports (test first)
Pan Pastels
A Hybrid Approach to Painting with Pastel
Pan pastels offer a unique twist on the traditional pastel medium—delivering the high pigment load of soft pastels in a flat, pan-style format that feels surprisingly like painting. Applied with sponge tools, soft applicators, or even fingers, they allow for smooth, even coverage across large areas with minimal dust. Their silky consistency and blendability make them a favorite among artists who want the depth of pastel pigment without the fragility or mess of traditional sticks.
These are especially appealing for those working on gradient-heavy compositions, abstract backgrounds, or mixed media projects where subtle blending and consistent transitions are key.
Key Applications and Benefits
Large Area Coverage
Because of their pan format and soft-touch tools, pan pastels excel at covering broad sections of a surface quickly and evenly. Whether you’re building a moody background or laying in a tonal foundation, they offer a practical alternative to painstaking stick application. You can modulate pressure easily, controlling softness and saturation without sacrificing pigment intensity.
Soft Transitions and Background Gradients
With pan pastels, blending becomes nearly effortless. Sponge applicators glide pigment across the surface, creating ethereal transitions ideal for skies, skin tones, or abstract compositions. Their ability to fade color seamlessly makes them a top choice for artists focused on atmosphere, lighting, or layered harmony.
Mixed Media and Experimental Work
Pan pastels play beautifully with other media—working over ink washes, watercolor, or even collage. They can be erased, carved, or reapplied in layers without cracking or becoming muddy. Because they’re low-dust, they also integrate well into art journaling or multimedia sketchbooks without smearing across pages.
Handling and Surface Considerations
- Best surfaces: Look for papers with fine to moderate tooth, such as sanded pastel paper or pastel board. Flat-textured watercolor paper can also work well for detailed blending.
- Application tools: Use soft sponge knives, wands, or Sofft tools for controlled application. Keep tools clean between colors to preserve vibrancy.
- Dust and cleanup: Pan pastels produce minimal airborne dust, making them ideal for indoor studios or artists with respiratory sensitivities.
- Fixative: While optional, a light workable fixative can help set layers if you plan to add more media or transport the piece.
Pan pastels strike a balance between painting and drawing—making them an expressive, responsive tool for artists who value fluid transitions, minimal mess, and consistent pigment delivery.

credit: jamehayes
credit: jeffredmon
How to Start Using Pastels Effectively
Laying the Foundation for Success
Starting with pastels is less about chasing perfection and more about developing habits that set you up for vibrant, clean, and expressive results. From choosing the right materials to building layer depth, your foundational approach makes all the difference. Pastels reward patience, intentional application, and a willingness to explore mess and beauty at once.
Choose the Right Surface
Pastels need tooth—that subtle texture in the paper surface that grips pigment and holds it in place. Without it, pastel will simply slide around or refuse to build meaningful layers.
Recommended Surfaces
- Sanded pastel paper: Available in varying grits, this offers strong grip and can handle heavy layering.
- Watercolor paper with gesso or pastel primer: A great DIY surface, especially for mixed media artists.
- Velour paper: Extremely soft with a suede-like feel, ideal for creating smooth gradients or detailed textures.
- Toned paper: Offers instant value contrast, reducing the need to cover every inch with pigment and helping colors pop.
Avoid glossy or ultra-smooth paper—it lacks texture and will frustrate layering attempts.
Build Layers Gradually
Pastel is a layering medium. The most successful pieces begin with light application and evolve slowly in tone, texture, and intensity.
Key Layering Techniques
- Work from light to dark: Lighter pigments are easily overwhelmed—give them space early on.
- Use the side of the pastel for broad application and the edge or tip for finer detail.
- Blend between layers using your fingers, soft cloth, blending stumps, or pastel tools to unify transitions.
Going slowly reduces muddiness, preserves surface texture, and prevents oversaturation. Think of each pass as a dialogue between you and the surface, not a rush to the final image.
Use Fixative Strategically
Fixative can help preserve your work—but it must be used mindfully.
Smart Fixative Use
- Workable fixatives can be applied in-between layers to “set” pigment without sealing everything completely.
- Final fixatives help reduce smudging post-completion but may slightly darken or dull color—test before spraying.
Always spray in a well-ventilated area from a distance of 12–18 inches. If you plan to frame your piece under glass, you may not need to fix it at all.
Keep Your Tools Clean
Pastel’s vibrant color potential can easily be dulled by cross-contamination. Cleanliness helps maintain color integrity and smooth application.
Clean Tool Habits
- Wipe your fingers frequently, especially when switching colors.
- Shake out blending tools or swap them when switching tones.
- Store your pastels in trays or boxes with dividers to keep hues from rubbing together.
A few seconds of cleanup during your process can prevent hours of correcting unintended smudges later.
Practice Blending Techniques
Blending creates softness, transitions, and harmony—but every pastel type responds differently. Try these options and see what aligns with your artistic voice:
Blending Methods
- Finger blending: Great for organic transitions and atmospheric effects—just keep your fingers clean.
- Sponge tools: Especially effective with pan pastels for smooth, painterly blends.
- Bristle brushes: Use dry for scumbling—a technique that gently drags pigment for soft texture.
- Crosshatching with pastel pencils: Adds texture and layering without heavy blending; good for realism and stylized work.
Each method brings a different quality to the surface. Practice them individually before combining them into your own unique workflow.
Bonus Tips for Working Like a Pro
Use Toned Paper to Support Color Harmony
Starting with toned paper—like warm grey, sand, or deep blue—gives your composition a natural foundation and helps reduce the visual “white noise” of a blank page. It sets an instant mid-tone value that you can push darker or lighter with your pastels, making it easier to establish contrast and atmosphere early in the process. It also helps unify your color palette by acting as a subtle undertone throughout the piece.
Store Pastels Properly to Prevent Damage
Pastels are fragile by nature, especially softer types prone to chipping or snapping. Invest in foam-lined trays, compartment boxes, or velvet-lined drawers to cushion each stick and prevent cross-contamination. Keeping your pastels organized by color family also speeds up your workflow and minimizes unintended blending when working quickly.
Photograph Your Process for Growth and Reference
Regularly taking photos of your in-progress work helps you spot compositional imbalances, color issues, or value jumps that aren’t as obvious in real time. It’s also a great way to archive your color combinations and layering sequences for future pieces. Side-by-side comparisons of early and final stages can highlight how your technique has evolved.
Mix Pastel Types for Layered Impact
There’s no rule saying you must stick to one kind of pastel. In fact, combining types can unlock a full range of textures and effects. Try starting with hard pastels or pastel pencils for structural outlines, then add soft pastels for depth and atmosphere. Pan pastels make excellent base layers, while oil pastels can introduce bold focal points or resist-style accents.
The key is to layer with intention: hard to soft, light to dark, and stable to more expressive mediums.

 Sketchbooks.org | ARTIST RESOURCES
Building an Authentic Artist Brand | Finding Your Voice
Navigate the path to a genuine creative identity. Discover how to share your unique vision and build a brand that resonates with your true self.
Frequently Asked Questions
Can I mix pastel types in one piece?
Yes, combining soft, hard, and pencil pastels adds depth and control.
What surface works best for soft pastels?
Sanded papers or pastel-specific textured surfaces hold pigment best.
Do I need to seal my pastel artwork?
Not always, but fixative can help prevent smudging; glass framing also works.
Are oil pastels the same as soft pastels?
No, they use different binders—oil pastels are creamy and less blendable by hand.
What’s a good beginner pastel set?
Start with a small, high-quality set of soft pastels in primary and neutral colors.
How do I prevent pastel dust from smudging?
Work from top to bottom and use a drawing board at a slight angle to let dust fall away.
Can pastels be used on canvas?
Yes, but the canvas should be primed with pastel ground or gesso to hold the pigment.
Are pan pastels good for detail work?
They’re great for soft blending but less suited for sharp detail unless paired with pastel pencils.
Final Thoughts
Mastering the different types of pastels doesn’t require a massive collection—just curiosity, patience, and a willingness to explore texture and light in new ways. Whether you’re working with rich soft pastels, precision pastel pencils, or the creamy power of oil pastels, each type invites a unique dance between control and freedom.
Start with what draws you in, experiment fearlessly, and refine your process as your hand—and eye—learns the language of pure pigment. There’s no better time to make your mark.
credit: muffy820
Ready to Share Your Work?
Do you prefer drawing quick sketches or detailed studies?

Hard pastels are great for sketching, but they don’t give me the richness I need
Pastel pencils saved my life when I wanted detail without losing that chalky texture.
I wish more brands made eco-friendly pastels – I hate tossing broken sticks into the trash.